Creating Workspaces
Workspace is a platform to configure products in iFoundry.
1. After creating a product, and the plan info, go to the workspace tab.
2. Click on Add New on the top right corner of the screen, as seen in the image below.

3. In the new window, under basic details, input data in the following fields:
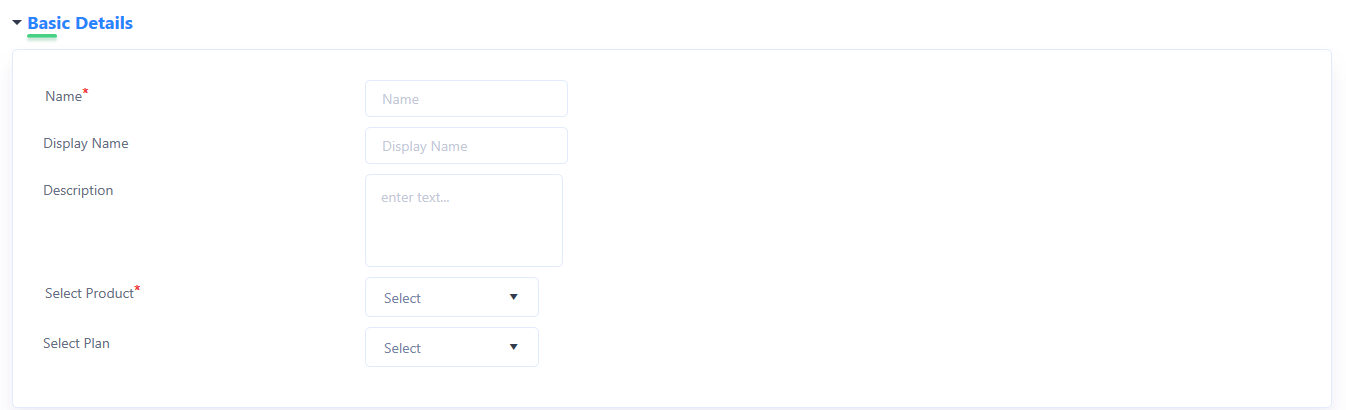
Name: Input a desired name for the workspace.
Display Name: Input a desired display name for the workspace.
Description: Input a general description, if needed, of the desired changes a user wishes to create using the workspace.
Selected Product: Select the required product for which the rates, rules and forms must be configured.
Select Plan: Select the desired base plan from the drop-down menu.
4. Under the Inclusions section, a user can include change events from an existing workspace and import them to the new workspace, by clicking on Workspace from the available options. Followed by selecting from the list of existing workspaces.

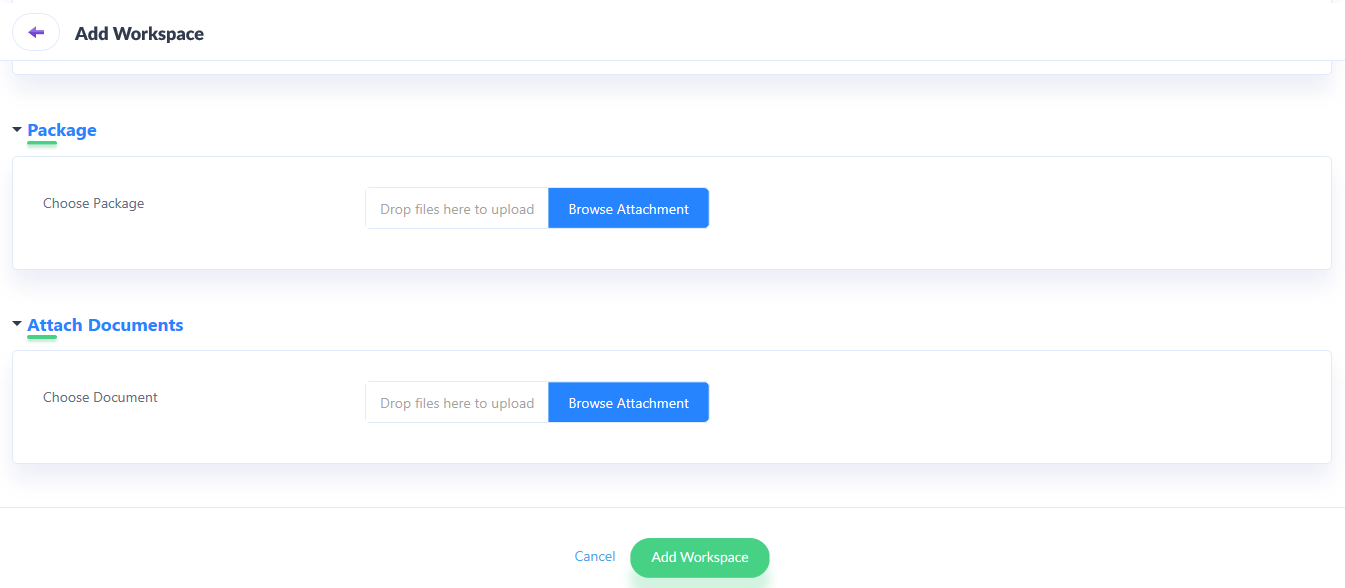
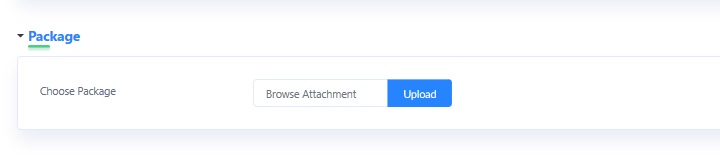
5. Under Package, import the desired package you wish to make changes to by clicking on upload.
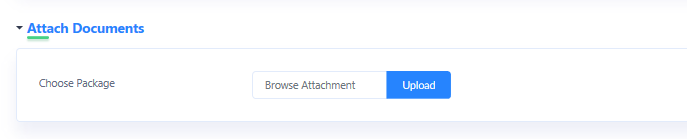
6. Any further supporting documents associated with the workspace or plan can be uploaded here, as shown in the image.
7. Click on Add Workspace.
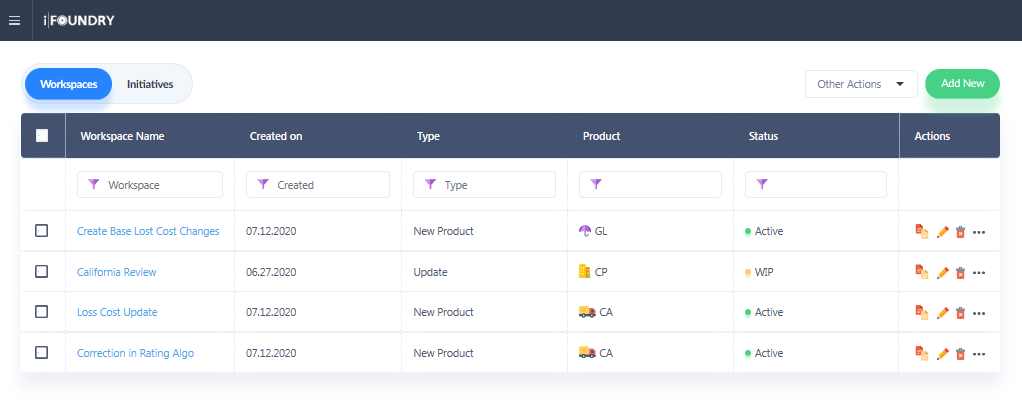
8. A new workspace is created and appears in the workspaces grid, as shown in the image below.